A DIY Guide to Granite Polishing - Brought to you by Stonegate
The loss of polish is one of the most common problems of stone. We share a DIY, step-by-step guide to bringing back the shine of your granite countertop.
The loss of polish is a common problem in stone. If the granite countertop in your home has seen better days, you can revive its original high gloss finish and colour without spending a fortune.
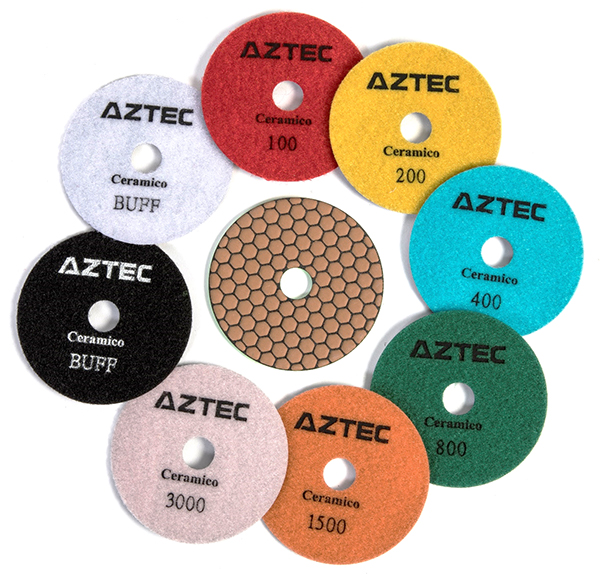
Introducing granite polishing – a process you may or may not be familiar with. It refers to the process of sanding the stone with diamond parts of grit ranging from 50 to 3000, which are very fine abrasives. Our range of polishing pad sets contains three or more pads, with 75mm to 100mm diameters, depending on the polishing requirements.
Here’s a DIY guide to bring back the shine of your granite countertop:
Materials:
- Backing Pads
- Variable Speed Wet Polisher
- A complete set of 100-mm diamond polishing pads (Grit 50, 100, 200, 400, 800, 1500 and 3000 grits)
- Water
- Working Table
Steps:
First, clean your countertop thoroughly to remove any caked-on grime.
Clamp granite tile on a work table and secure it firmly. It would be wise to place masking tape on the part of granite that will be exposed to water.
Start the polishing process with grit 50, unless the surface is very smooth and even. Smaller grit sizes are ideal for removing heavy scratches, and higher grit sizes are best for final finishing.
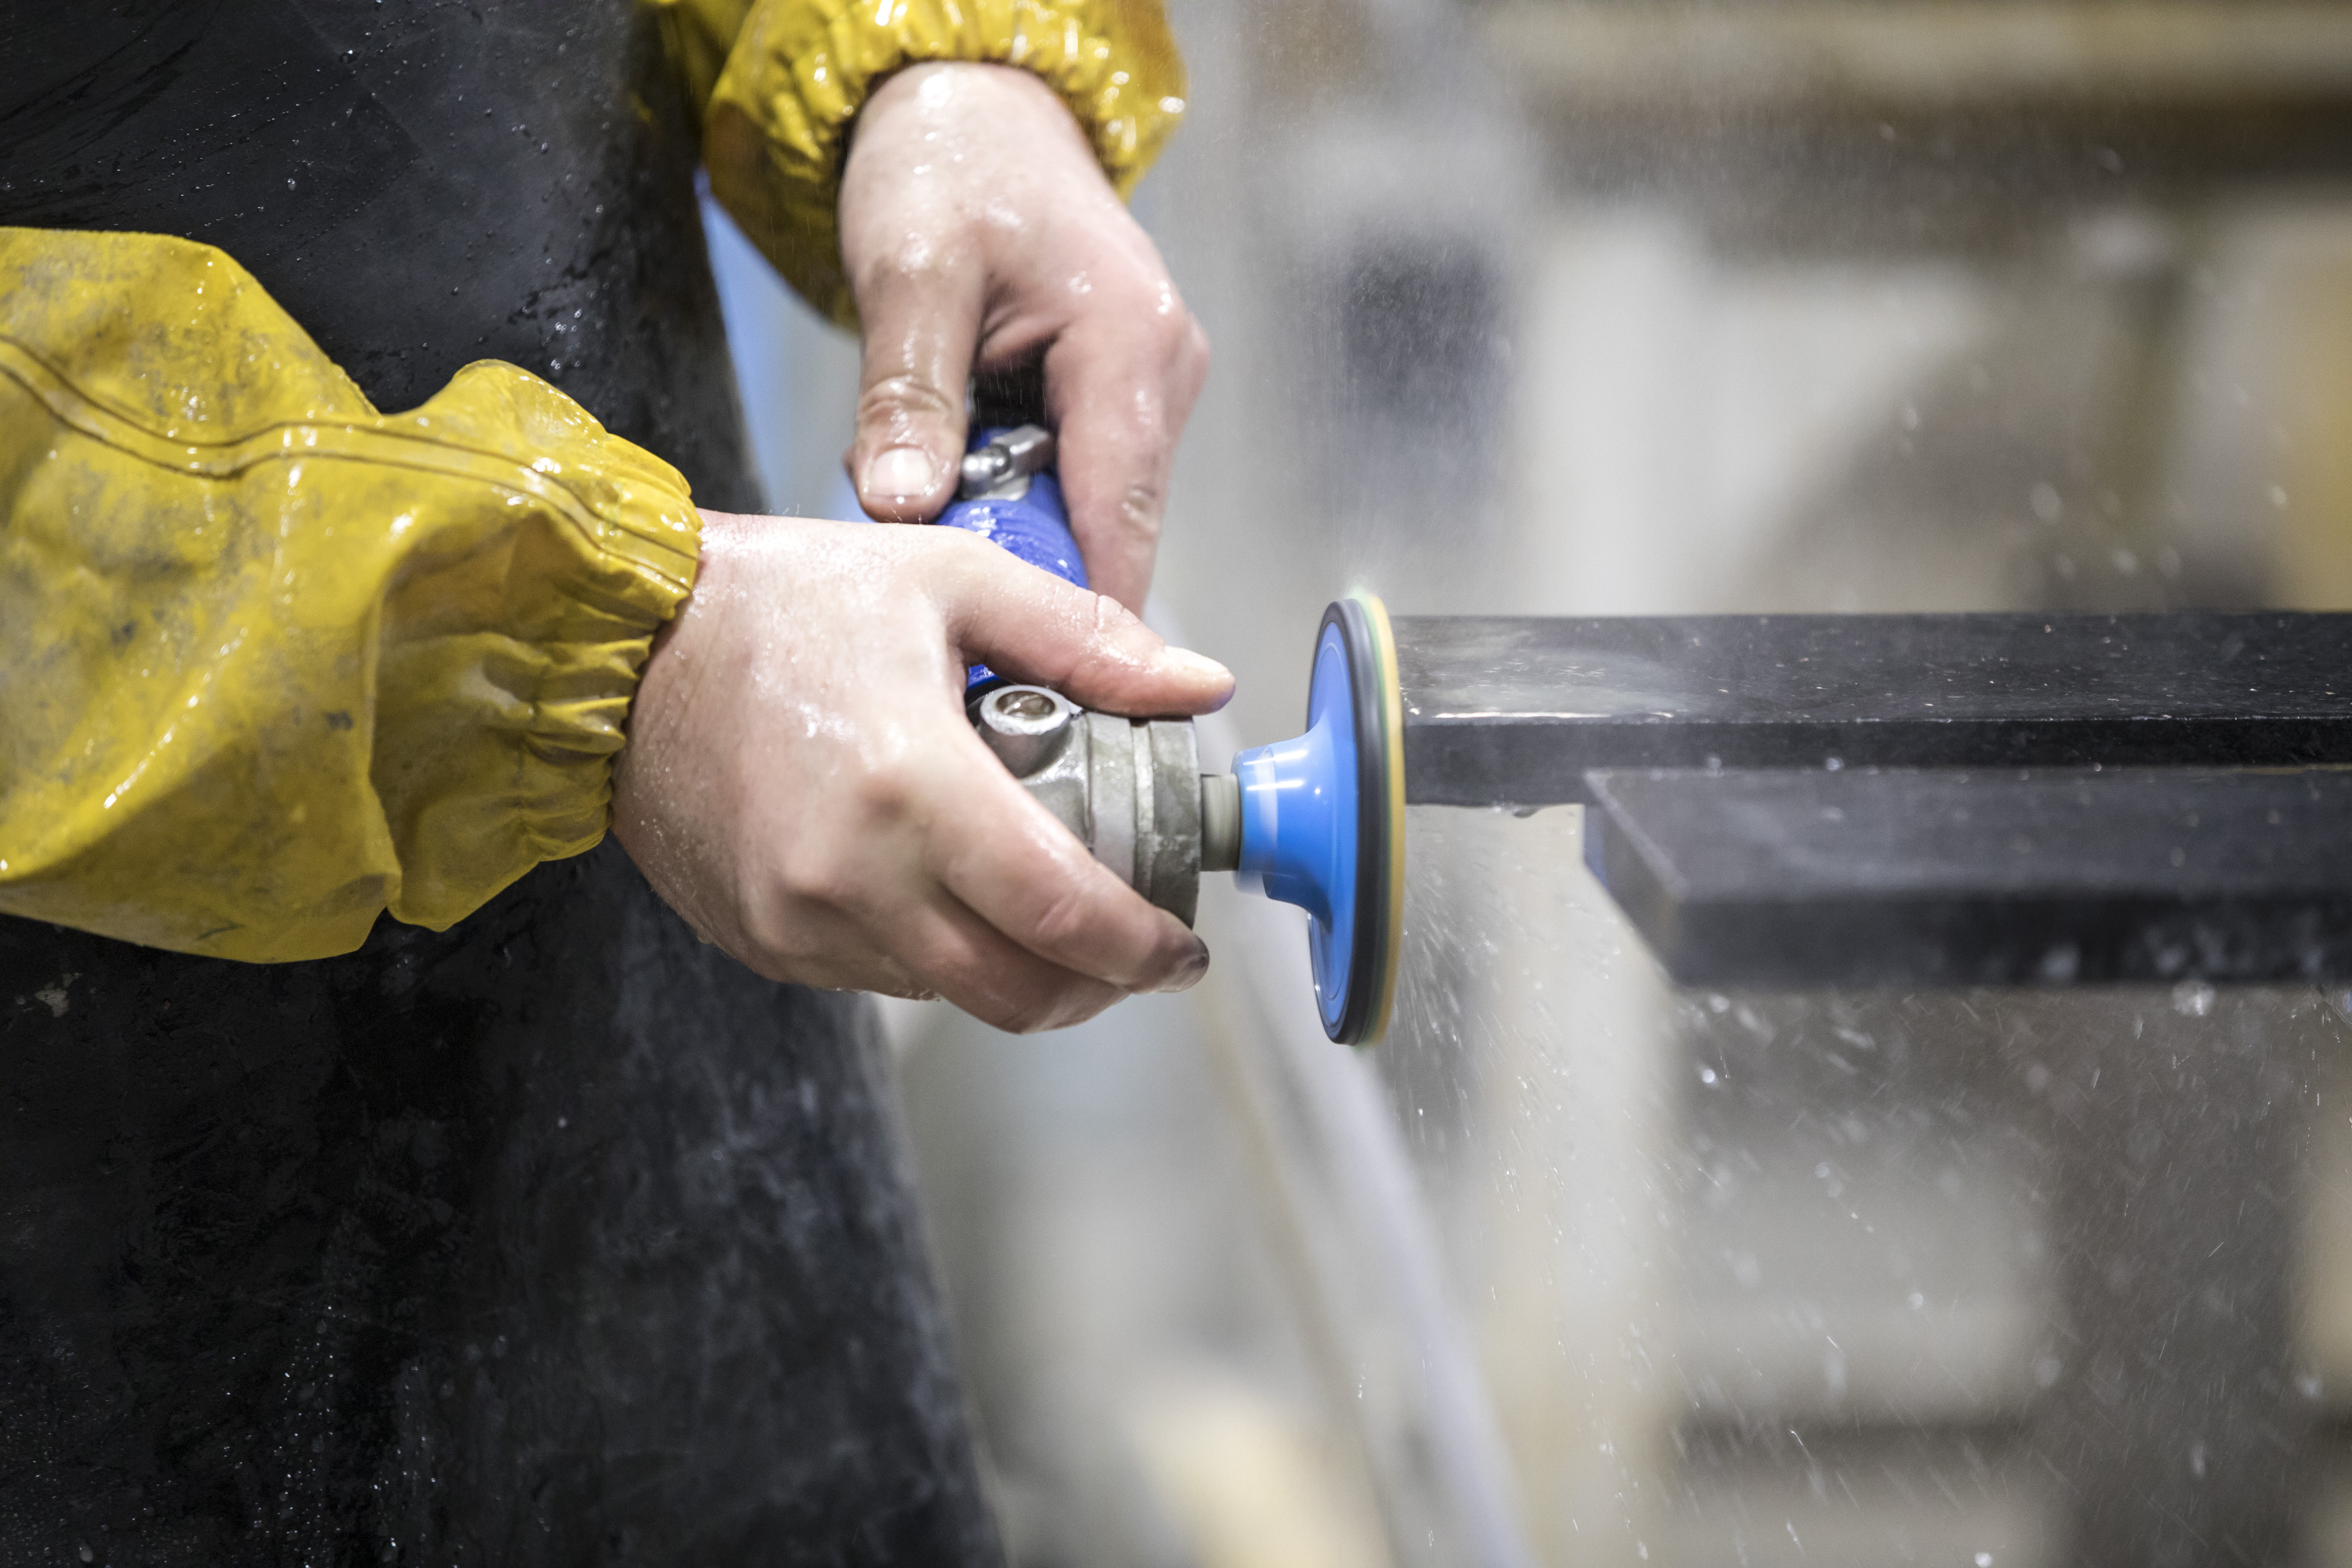
Attach the backing pads to the wet polisher, and attach 50 grits to the Velcro of the backing pad and open water flow for the wet polisher. From here, the polishing process begins.
Starting at low rpm (revolutions per minute), polish the granite edge side to side, not more than five times. Too much repetition with lower grits can put unnecessary strain without adding any real value to the polish. Start with low speed and increase as needed for more efficient polishing.
Once grits 50 is completed and the entire surface has been polished, proceed to higher grits 100, and then grits 200. After completing grits 100 and 200, you should find a much smoother surface, free from old sealants or saw marks.
Make sure to use grits from lower to higher and to apply all the grits gradually. Use the pads one by one until you achieve the desired finish. You should fine a decent polish at the grit 800, and as you move to grit 1500 and grit 3000, a mirror-like finish should be evident.
Polishing brings out the granite’s natural beauty and provides continuous protection against water pots and fingerprints. If you have any enquiries about our polishing pads, and other products, contact us today.